
Hey Arnold! Ends With One Choice — Here Is Every Step Before It
Spoiler warning: this walkthrough describes the Chapter 1 mission Hey Arnold! in GTA 6 step by step, including its ending choice. Play the mission first if you want it unspoiled, and come back if the chase or the choice has you stuck.
Hey Arnold! is a mandatory Chapter 1 mission played as Jason. Brian Heder’s long-time broker Arnold has stopped answering his calls, so Jason and Cal Hampton track him down to a radar station, chase him by truck and then on foot, and corner him at the docks.
The mission ends with a choice: kill Arnold or spare him. Beebom, VGC and Sportskeeda all report the same outcome — Arnold leaves the game either way, and the only lasting difference is what the choice does to Jason’s Criminal Profile. There is no cash reward, so this one is pure story.
Key Takeaways
- Hey Arnold! unlocks after Pipework, when Brian calls Jason to meet at the Crastenburg pool bar in southern Key Lento.
- You drive Brian’s pickup, collect Cal at a liquor store, then follow the GPS to Arnold at the radar station in Maroon Key.
- The confrontation turns into a vehicle chase with bikers shooting at you, automatic stunt jumps on the bridge, and a short foot chase at the docks.
- At the docks you choose to kill or spare Arnold; walkthroughs agree he disappears from the game either way.
- Killing him registers as Violent behaviour and sparing him as Restrained behaviour on your Criminal Profile.
- There is no payment and no Gold Medal scoring — GTA 6 missions have no medal objectives.
Part 1 — Meet Brian and Pick Up Cal
After Pipework is done, Brian calls. Head to the pool bar in southern Key Lento and talk to him. He explains that Arnold, the broker he relies on for information, has gone silent, and he wants to find out why.
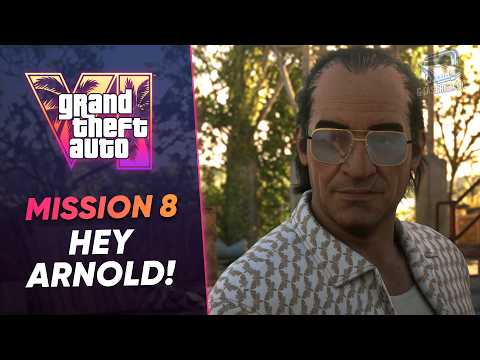
Follow Brian to his pickup and take the driver’s seat. Drive to the nearby liquor store, where Cal climbs in. Sportskeeda’s walkthrough notes that Cal helps pin down Arnold’s location using his phone, which gives you the trail to follow on the minimap.
If you are still getting your bearings in the opening hours, our prologue walkthrough covers the missions that lead into this part of Chapter 1 and the systems they teach.

Part 2 — Find Arnold at the Radar Station
Follow the GPS south toward Maroon Key. Beebom’s guide points out a useful landmark: a huge white blimp on your right as you approach. Take the first left near the station and you will find Arnold standing with his men by a small building.
A cutscene plays. Brian confronts Arnold, and Arnold makes it clear he is cutting ties — walkthroughs link his decision to the Kingfishers trouble from Gone Fishing. The meeting collapses, Arnold jumps into a vehicle, and the chase starts with you already behind the wheel of Brian’s truck.
Do not linger at the station once the cutscene ends. The mission moves straight into the pursuit, and falling behind early makes the next part harder than it needs to be.
Part 3 — The Vehicle Chase and the Bikers
Stay on Arnold’s tail across the bridge. His men catch up on motorcycles and shoot at the truck while you drive. Beebom lists the drive-by controls: draw your weapon with L1 on PlayStation or LB on Xbox, and fire with R1 or RB.
You can also trigger Jason’s Focus ability with L3 and R3 pressed together to slow time and shoot more precisely. It is worth learning early, because several Chapter 1 chases and shootouts are built around it.
The bridge route throws the truck over ramps that trigger automatic stunt jumps. Multiple walkthroughs confirm those jumps count as completed on their own and stay marked on the map afterwards, so there is nothing extra to line up — just keep driving.
One shortcut is reported by Beebom: shooting out a tyre on Arnold’s vehicle can force him to stop before the docks. VGC adds that it is even possible, though much harder, to end things during the vehicle chase itself. The standard route is simpler: follow him until he abandons the vehicle on his own.
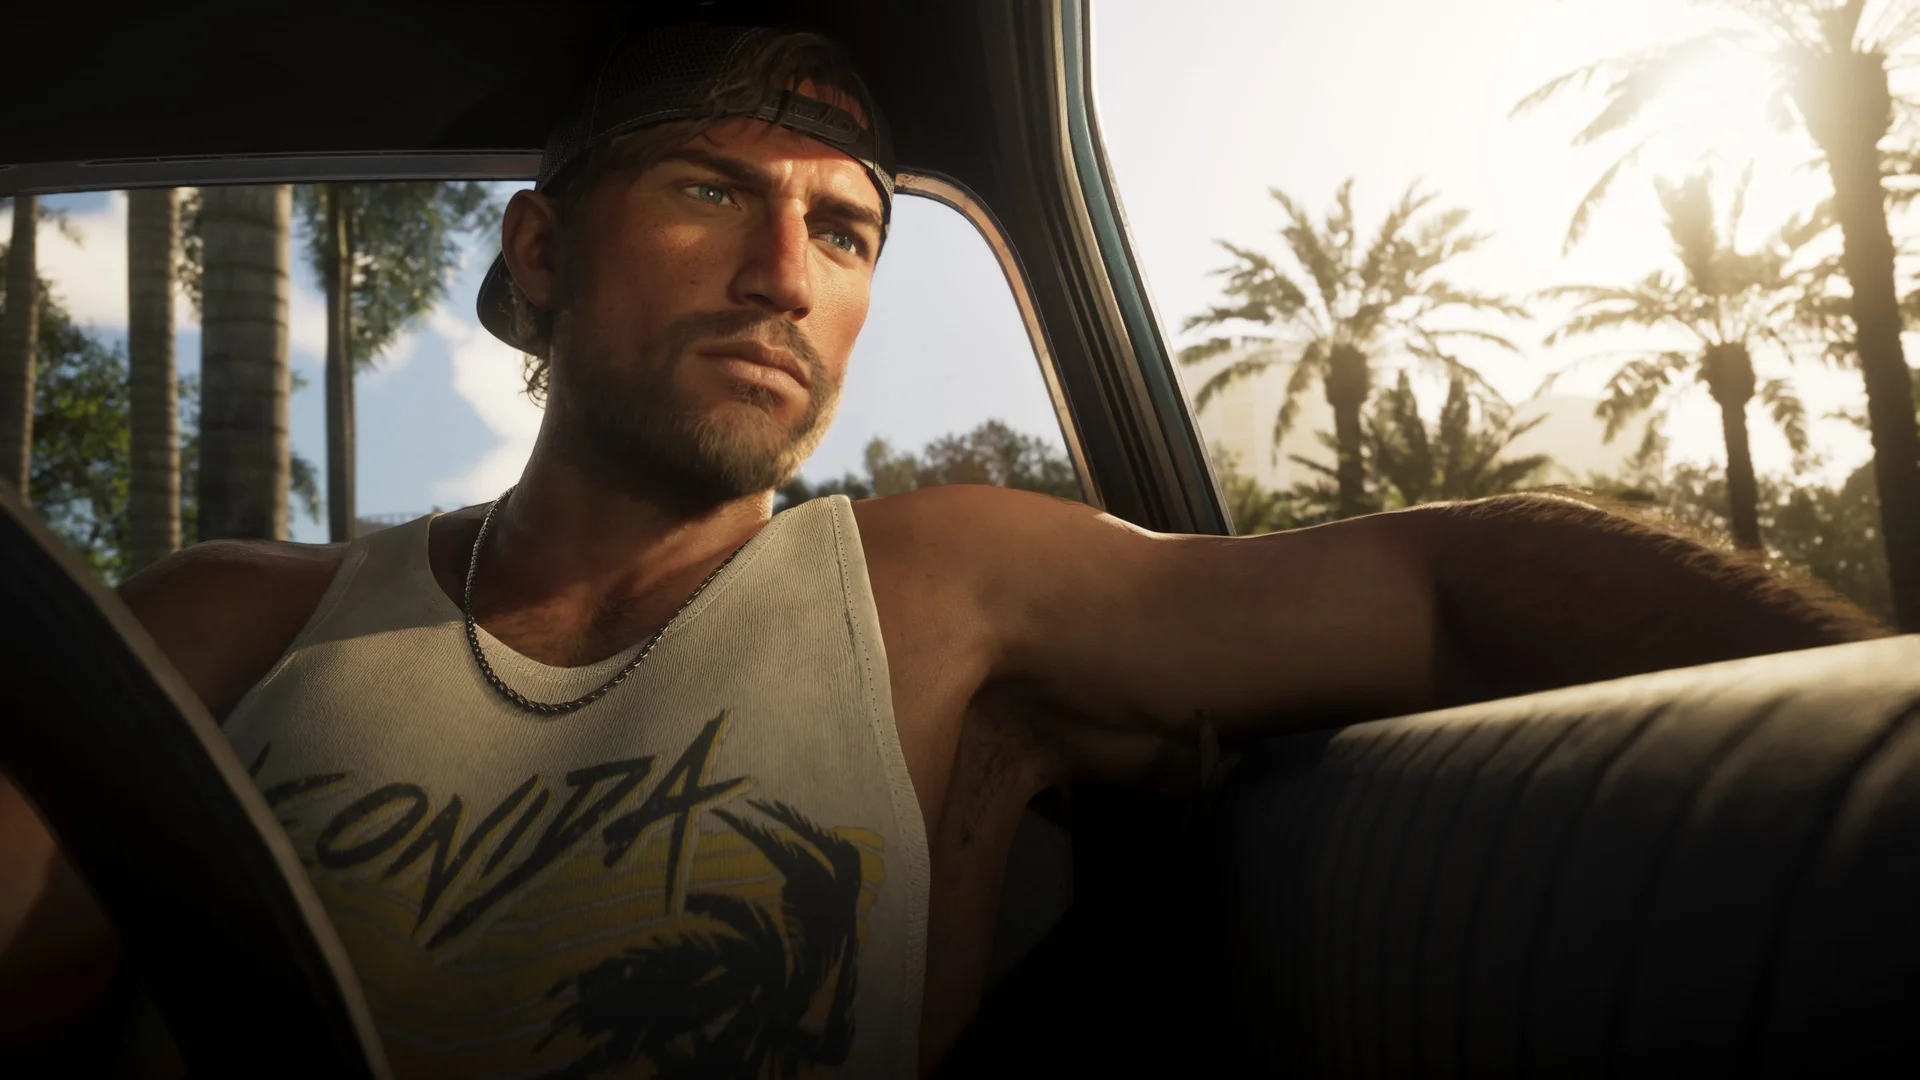
Part 4 — The Foot Chase and the Docks
When Arnold’s vehicle stops, get out and chase him on foot. He runs out of road at the docks, gives up, and begs Jason to let him live. Jason confronts him about the betrayal and tells him to stop interfering with Brian’s business.
Keep your sprint steady rather than cutting corners into obstacles. The foot chase is short, it cannot really be lost once you stay close, and it always ends at the same spot: Arnold cornered, with nowhere left to run.
If you fired a loud weapon during the chase, VGC’s walkthrough advises leaving the area promptly at the end, before police attention arrives. That is good general practice after any noisy Chapter 1 job.
Part 5 — Kill or Spare: What the Choice Actually Changes
At the docks the game gives you two options: kill Arnold, or spare him. This is the decision most players search for, and the honest answer from every launch walkthrough is that the story treats both the same.
Arnold disappears from the game regardless. Spare him and, as reported by launch guides, he gets away and Jason tells Brian that Arnold will keep his mouth shut. Kill him and Brian treats the broker problem as settled in exactly the same way. No payout, item or follow-up scene has been reported for either branch.
What does change is your Criminal Profile. Beebom states that killing Arnold counts as Violent behaviour, while sparing him counts as Restrained behaviour. If you care about how the game rates Jason and Lucia as criminals, that profile is the real consequence. Our breakdown of the Criminal Profile system explains what those ratings track.
There is no mission replay in GTA 6, so if you want to see the other outcome, you need a manual save made before the docks. Save before you start the mission if the choice matters to you. For the wider picture of which story decisions carry weight, see our guide to choices and consequences.
Part 6 — Common Mistakes and Quick Tips
The most common frustration is losing Arnold on the bridge. Stay centred on the road, take the ramps cleanly, and save your Focus for the bikers rather than spending it in the first seconds of the chase.
Second, do not waste ammo trying to stop Arnold’s vehicle early unless you are confident in the tyre shot. The chase is scripted to reach the foot pursuit, and patient driving gets you there with your health and ammo intact.
Third, remember there is no reward to miss. No collectible, cash pickup or hidden bonus has been reported anywhere in this mission, so once the choice is made, you are done — Island Dreams follows next in Chapter 1.
Frequently Asked Questions
How do you unlock Hey Arnold! in GTA 6?
Complete Pipework first. After a short wait, Brian calls Jason and asks him to meet at the pool bar in southern Key Lento, which starts the mission.
Where is Arnold hiding in Hey Arnold!?
Arnold is at the radar station in Maroon Key, standing with his men near a small building. Follow the GPS after picking up Cal, and watch for the large white blimp on your right as you approach.
Should you kill or spare Arnold in GTA 6?
Either works. Beebom, VGC and Sportskeeda all report that Arnold leaves the game either way and the story continues identically. Killing him marks Violent behaviour on your Criminal Profile; sparing him marks Restrained behaviour.
What reward do you get for Hey Arnold!?
None has been reported. Beebom lists no rewards and no unlocked items for the mission. It exists to move the Brian storyline forward, not to pay out.
Can you stop Arnold before the docks?
Beebom reports that shooting a tyre on his vehicle can make him stop early, and VGC notes the chase can technically be ended during the vehicle pursuit, though it is much harder. The normal route ends with a foot chase at the docks.
How do you shoot while driving in Hey Arnold!?
Draw your weapon with L1 on PlayStation or LB on Xbox, and fire with R1 or RB. Pressing L3 and R3 together triggers Jason’s Focus ability, which slows time for more accurate shots.
Do the stunt jumps in the chase count toward completion?
Yes, as reported by launch walkthroughs. The bridge ramps trigger the jumps automatically during the pursuit, and they remain marked on the map under the Exploration filter afterwards.
Who gives the Hey Arnold! mission?
Brian Heder gives it, with Cal Hampton riding along. You play as Jason throughout, driving Brian’s pickup from Key Lento to Maroon Key and back into the chase.
What mission comes after Hey Arnold!?
Island Dreams follows in Chapter 1, once Jason reports back to Brian that Arnold will not be a problem anymore.
Can you replay Hey Arnold! to see the other choice?
No. GTA 6 has no mission replay, as GTABase’s mission coverage confirms. To see the other outcome at the docks, load a manual save made before the choice.
The Broker Is Handled
Hey Arnold! is Chapter 1 in miniature: a favour for Brian, a chase that shows off the Keys, and a choice that says more about your Jason than about the story. Pick the outcome that fits the criminal you want to play, and do not worry — Leonida moves on either way.