
You Get the Metal Detector on a Dive for Kenton Rees
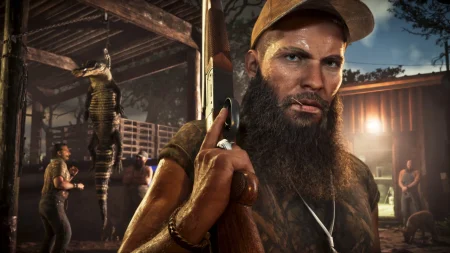
You do not buy the metal detector in GTA 6. You first use it in Island Dreams, a Chapter 1 story mission for Kenton Rees, the treasure hunter who runs the Island Dreams shop by the beach in Key Lento.
At the shipwreck, open the weapon wheel and pick the detector from the bottom-right slot. Hold L2 on PS5, or LT on Xbox, to aim it, sweep the pink search area, and watch the light.
When the light turns from red to solid, fast-flashing green, you are on top of a dig site. Press Triangle on PS5, or Y on Xbox, at the prompt to dig the treasure up.
That one loop — equip, aim, follow the light, dig — is the whole tool. Everything else in this guide is about using it well: where it works, what it finds, how Kenton’s sets pay out, and the mistakes that make players swim in circles.
Key Takeaways
- The detector arrives in Island Dreams, the Chapter 1 mission for Kenton Rees in Key Lento, after Hey Arnold! in most mission orders.
- Equip it from the bottom-right slot of the weapon wheel, aim with L2 / LT, and dig with Triangle / Y when the prompt appears.
- Red means keep searching. Green means close. Faster green flashing and stronger beeping mean closer still.
- It only signals inside the marked search area around a wreck. Outside that area, a silent detector is normal, not broken.
- Finds are mainly sunken artefacts and gold doubloons for Kenton. Bring them back to him to sell them.
- Kenton’s Treasures run to 7 sets in total, tracked in your Progress menus, and they feed into the 100% checklist.
- Scuba gear and the detector auto-unequip if you stay on land too long, so equip them at the dive site, not at the dock.
Part 1 — Getting the Detector: Island Dreams, Step by Step
Island Dreams unlocks in Chapter 1 once you have met Kenton. Sources differ slightly on the exact mission count — some list it as the eighth story mission, others as the ninth — because optional ordering shifts the numbering. The trigger is Kenton, not the number.
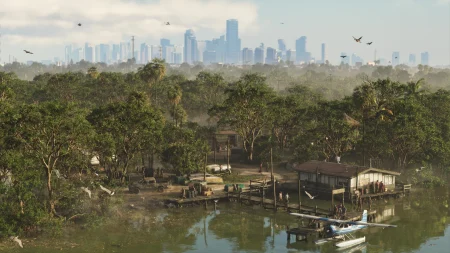
Head to the Island Dreams shop on the eastern side of Key Lento, in Mariana County. Talk to Kenton inside. Hold L2, or LT on Xbox, on him to start the conversation if the prompt asks for it.
Kenton lends you his boat and his scuba gear. The catch is the job itself: you are leading a bachelor party out to a shipwreck, and the dive doubles as your treasure-hunting lesson.
Take the boat to the marked dive spot. Put the scuba gear on at the back of the boat when prompted, jump in, and dive with R1 on PS5, or RB on Xbox, in most control layouts. Lead the group through the trench to the wreck.
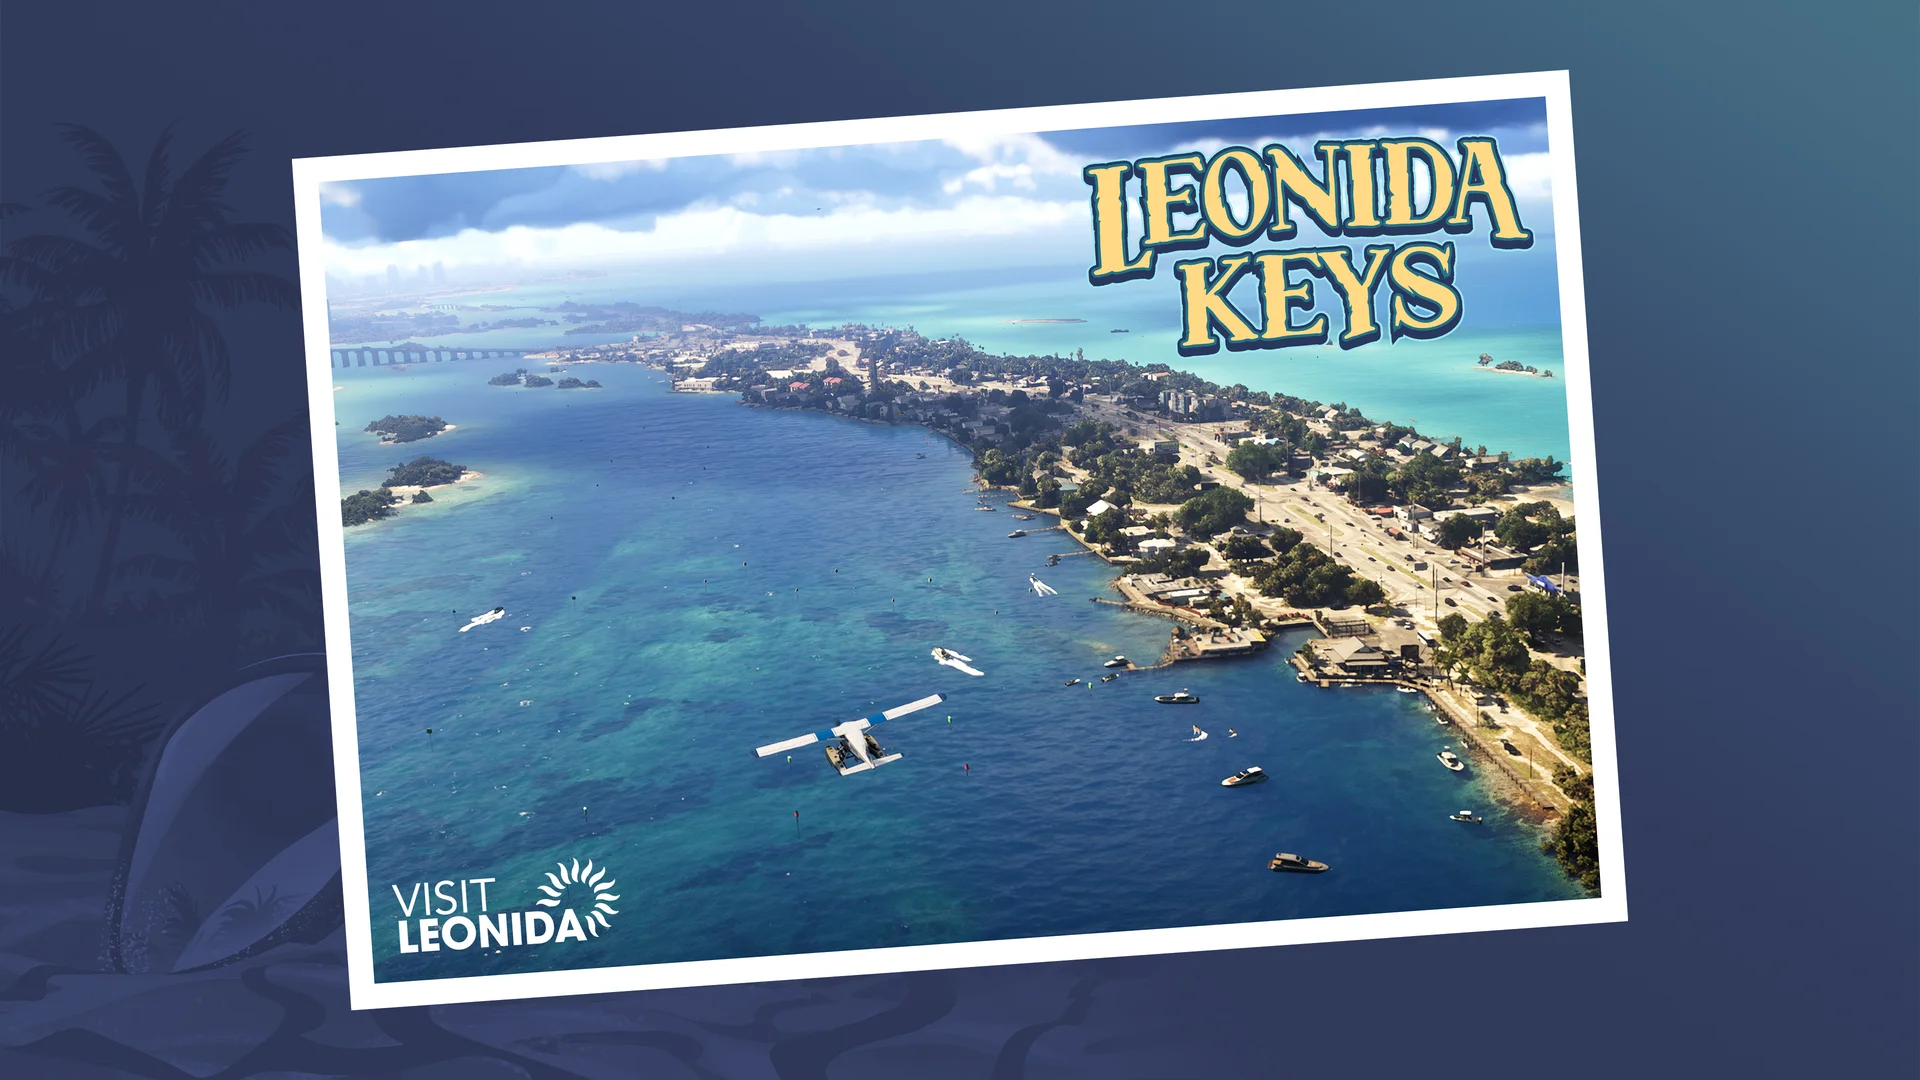
If you are still learning the wider water systems, our guide to how fishing and hunting work in GTA 6 covers the other half of what the Keys teach you early on.
Part 2 — The Controls and How to Read the Light
Open the wheel with L1 on PS5, or LB on Xbox, and use the right stick to select the detector in the bottom-right slot. Some guides describe the same input through the D-pad tool menu. Both routes land on the same slot.
Hold L2, or LT, to aim the detector while you swim. Now sweep slowly. Do not rush across the wreck. The signal is short range, and a fast pass can cross a dig site before the light has time to react.
Read the feedback in three layers. First, the colour: red is the resting state, green means a treasure site is near. Second, the flash rate: the green flash speeds up as you close in. Third, the sound: beeping grows heavier and more frequent near the target.
When you are close enough, a golden chest icon appears on the seabed and the dig prompt shows. Press Triangle, or Y, to collect. In Island Dreams there are three treasures to find this way before the story moves you on.
A useful habit is to work the pink area in lanes, like mowing a lawn. Cover one strip, turn, cover the next. Random zigzags are why most players miss the third site and then blame the tool.
Part 3 — Your First Three Treasures at the Wreck
Launch walkthroughs agree on the broad positions of the three Island Dreams finds, even where their wording differs. Treat these as reported positions from those walkthroughs, and use the detector to confirm each one in your own game.
The first treasure sits straight ahead of the wreck, on the ground nearby, close to a small patch of coral across from the side of the sunken ship. It is the tutorial find, and the signal picks it up quickly.
The second is off to the right of the first, near the corner of the main rock formation that forms the wall of the dive area. Sweep along the rock edge rather than out into open sand.
The third sits on the ocean floor next to a large underwater plant. If your light is green but no icon shows, drop lower. Height matters: a detector aimed above the seabed can flash while the prompt stays hidden below you.
You do not have to find every last item before the mission continues. Walkthroughs note that you can keep hunting until the radio call about Dobbs moves the story on, and any wreck can be revisited later anyway.
Part 4 — After the Mission: Kenton’s Sets and Free Diving
Finishing Island Dreams is the start of treasure hunting, not the end of it. Kenton tells you that you can return to his shop and use his boat whenever you like, and the first wreck stays open alongside several other shipwrecks around the map.
Kenton later calls with more work. GTABase’s 100% checklist describes his questline returning after Chapter 1, marked with a green KR icon in Key Lento, with shipwreck treasures shown as purple chest icons on the map.
There are 7 sets of Kenton’s Treasures in total. The checklist needs 5 of the 7 sets for one requirement, and all 7 for the Underwater Discoveries count, which lists 33 discoveries. Track your progress under Progress, then Characters, then Kenton Rees, or under Progress, then Collections, then Kenton’s Treasures.
Sell what you dig up back to Kenton. Gold doubloons are the headline find, and completing a full set pays a bigger reward than selling pieces one by one, as reported by Push Square’s discoveries guide. Exact payout figures were not published in the sources checked, so this guide does not invent them.
Treasure money is modest early on compared with robbery money, but it is safe, repeatable and available while cash is tight. Our guide to how you make money in GTA 6 puts it in context alongside the faster, riskier earners.
Part 5 — Common Mistakes and How to Fix Them
Mistake one: searching outside the pink area. Multiple walkthroughs stress the same point — the light only turns green inside the marked search zone for that wreck. If you have swum far from the wreck and the detector is silent, swim back, do not keep going.
Mistake two: equipping too early. Scuba gear is only equipped in the water, or in a boat on open water. Stay on land too long and it removes itself, and the detector and bolt gun do the same. Equip at the wreck, every time.
Mistake three: swimming too high or too fast. The treasures sit on the seabed. Stay low, move slowly, and let the flash rate guide your final approach.
Mistake four: ignoring your air and the wildlife. A dive that ends with a rescue or a shark is a dive that pays nothing. In Island Dreams, Dobbs gets trapped under a metal grate at the wreck, and a shark arrives as you head back. The speargun, or harpoon, is the tool for that moment — two hits are what most walkthroughs report for saving Dobbs.
Mistake five: leaving finds unsold. Doubloons sitting in your inventory earn nothing. End each dive run back at Kenton’s shop, sell, and check the set progress before you dive again.
If you are chasing the full checklist, pair each dive with a look at our GTA 6 100% completion checklist so a finished set is never dived twice by accident.
Frequently Asked Questions
How do you get the metal detector in GTA 6?
You first use it in Island Dreams, the Chapter 1 mission for Kenton Rees at his shop in Key Lento. Kenton provides the boat and scuba gear, and the detector is part of the dive kit for that job.
How do you equip the metal detector?
Open the weapon wheel with L1 on PS5, or LB on Xbox, and select it with the right stick from the bottom-right slot. Equip it once you reach the wreck, not before you dive.
What do the detector lights mean?
Red means no treasure site is in range. Green means one is near. The green flash and the beeping both speed up as you get closer, until the chest icon and dig prompt appear.
What button digs up treasure?
Press Triangle on PS5, or Y on Xbox, when the prompt appears over a dig site. On PS5 you aim the detector by holding L2; on Xbox the aim input is LT.
What does the metal detector find?
Mainly sunken artefacts and gold doubloons at shipwrecks, as part of Kenton’s Treasures. The finds sit on the seabed inside the marked search area around each wreck.
How many treasures are in Island Dreams?
Three. Launch walkthroughs place one ahead of the wreck, one to its right by the rock wall, and one by a large underwater plant. Use the detector light to confirm each spot in your game.
How many Kenton’s Treasure sets are there?
Seven sets in total, tracked under Progress in the Characters and Collections menus. The 100% checklist needs five sets for one requirement and all seven for the Underwater Discoveries count.
Where do you sell what you find?
Back to Kenton Rees at the Island Dreams shop in Key Lento. He buys the doubloons and artefacts, and completing a full set pays a bigger reward, as reported by Push Square.
Can you use the metal detector on land?
Its documented job is underwater treasure hunting at close range, and it auto-unequips if you stay on land too long, like the scuba gear. Treat dry-land detecting as unconfirmed until you test it at a marked site.
What if the detector never turns green?
You are probably outside the pink search area, swimming too high, or moving too fast. Return to the wreck, drop to the seabed, and sweep the marked area slowly in lanes.
Final Notes for Treasure Hunters
Equip the detector at the wreck, stay low and slow, and let the green flash do the navigation. Sell every run back to Kenton, finish sets rather than scattering dives, and the quietest money-maker in the Keys will fund your loudest plans elsewhere.