
Change These Before Your First Drive Into Vice City
GTA 6 does not hide a performance mode in its menus, so the settings that matter are the ones that control how the game feels in your hands. Digital Foundry’s launch analysis found no graphics mode toggle on any console: PS5, PS5 Pro and Xbox Series X all render internally at 1440p and upscale to 4K, and every version targets 30 frames per second.
That means your first ten minutes are better spent on the controller, camera and display menus than on hunting for a frame-rate switch that does not exist. The defaults are playable, but several of them are set for a cinematic look rather than for comfort or control.
The good news is that the first-launch setup screens already point you at the important choices. Navigation Experience, UI Text Size, Subtitles and Brightness are asked up front, and every one of them can be changed again later in the full Settings menu.
Key Takeaways
- There is no performance mode: every console targets 30 fps, per Digital Foundry’s launch testing.
- Lower Motion Blur Strength from its default of 3, and Camera Bob from its default of 10, if the camera feels swimmy.
- Set the Touch Pad button to Map on PS5 for one-press access to the full Leonida map.
- Subtitles default to Mission Only; switch them up if you want every line of ambient dialogue captioned.
- Deadzones default higher than most players need; small reductions make aiming feel far more responsive.
- Accessibility toggles include Simplified Mini Games, Auto Equip Helmet, Accessible Combat and Reduced Vehicle Damage.
- PS5 Pro adds PSSR upscaling and ray-traced shadows automatically; there is nothing extra to switch on.
Part 1 — The Four First-Launch Screens
The first time GTA 6 starts, it walks you through four choices before the opening plays: Navigation Experience, UI Text Size, Subtitles and Brightness. A “Finish Setup?” screen then lets you start playing or open the full Settings menu instead.
Take the detour into the full menu. The four setup choices take a minute, and the deeper controller and camera tweaks below are easiest to make before muscle memory sets in.
For Navigation Experience, the Dynamic options are the sensible middle ground: the minimap and compass appear when you need them and fade when you do not. Players chasing a clean, cinematic screen can go minimap-only, while anyone planning heavy collectible hunting will want the map aids always on.
Brightness deserves real care. Leonida has dark interiors, swamp nights and neon-lit streets, and a rushed brightness setting washes out the first and crushes the second. Use the calibration screen’s own test: raise or lower the slider until the symbol is barely visible, exactly as the game instructs.
Part 2 — Controller: Sensitivity, Deadzones and the Aim Response Curve
The Controller menu holds the changes you will feel most. Aim and look sensitivity sliders, stick deadzones and the Aim Response Curve together decide whether gunfights feel crisp or muddy.
Start with the deadzones. Lowering the left and right stick deadzones makes small aim corrections register sooner, which matters in a game with this much on-foot shooting. Go too low and an ageing controller may drift on its own, so reduce in small steps and test in a quiet street before a mission.
Sensitivity is personal, but the pattern in launch-day settings walkthroughs is consistent: look sensitivity a touch higher than aim sensitivity, so you can scan a street quickly and then settle onto a target. The Aim Response Curve shapes how the stick builds speed; a more linear curve suits players who want predictable, one-to-one movement, while the default curve forgives shaky thumbs.
One PS5-specific change is worth making immediately: set the Touch Pad button to Map. Leonida is a 175 km² state, and one-press map access saves constant menu trips. Our guide to the regions of Leonida shows just how much ground that shortcut has to cover.
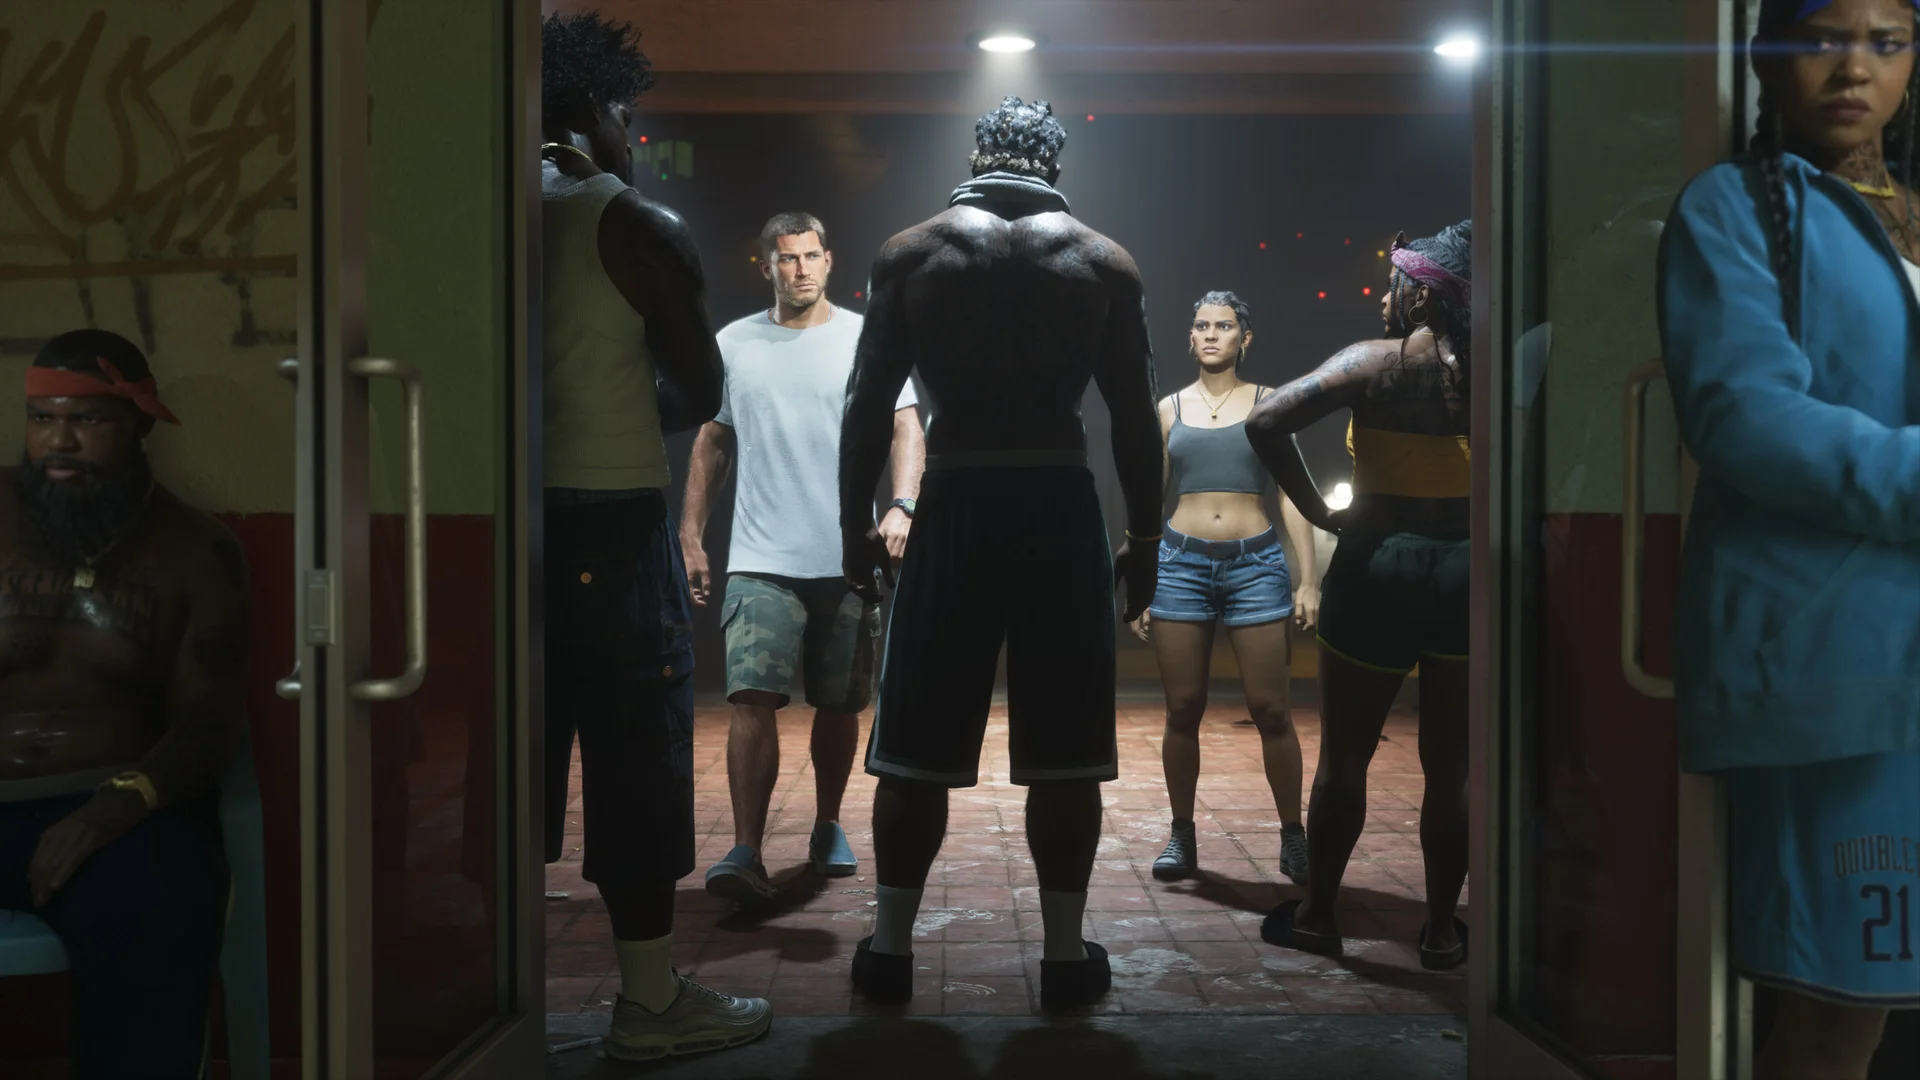
Part 3 — Camera and Display: Motion Blur and Camera Bob
Two display defaults explain most launch-day complaints about the game feeling “floaty.” Motion Blur Strength defaults to 3, and Camera Bob defaults to 10, its highest-feeling setting in normal play.
If fast pans smear or the walking camera makes you queasy, turn Motion Blur Strength down to 0 or 1 and drop Camera Bob to somewhere around 2 to 4. Settings walkthroughs published at launch, including NIXNE’s full menu tour, make exactly these two moves, and the difference in side-by-side comparisons is obvious.
Leave the rest of the visual effects alone at first. Player status, hit and awareness effect intensities change how much feedback the game flashes at you; they are worth tuning later, once you know which warnings you actually rely on in a fight.
What you cannot change is the rendering itself. As our 30 FPS confirmation explains, the 30 fps target is fixed at launch, and the settings menu offers no way to trade resolution for frame rate on any console.
Part 4 — Gameplay and Accessibility: Help That Is Actually Worth Taking
The Gameplay menu controls how much the game assists you. Targeting style is the big fork: lock-on suits story-focused players and anyone returning from GTA 5, partial lock-on keeps some help, and free aim rewards precise players with a harder, cleaner game.
Movement Speed is the sleeper setting. Raising it above a plain walk means Jason and Lucia move briskly whenever the stick is fully pushed, which adds up across a map this size. Note, too, that sprinting sits on L3 by default — a change from GTA 5’s button-tapping that catches returning players out.
The accessibility list is genuinely useful rather than decorative. Simplified Mini Games softens the fiddly interactions, Auto Equip Helmet protects you automatically on bikes, Accessible Combat reduces enemy pressure, and Reduced Vehicle Damage keeps cars alive longer in chases. Our full accessibility settings explainer walks through the complete menu.
Subtitles sit in the UI menu and default to Mission Only, which captions key story and gameplay dialogue but not everything. If you play with the volume low, or you simply do not want to miss street chatter that often carries jokes and hints, switch subtitles to the full option and pick a text size you can read at your normal viewing distance.
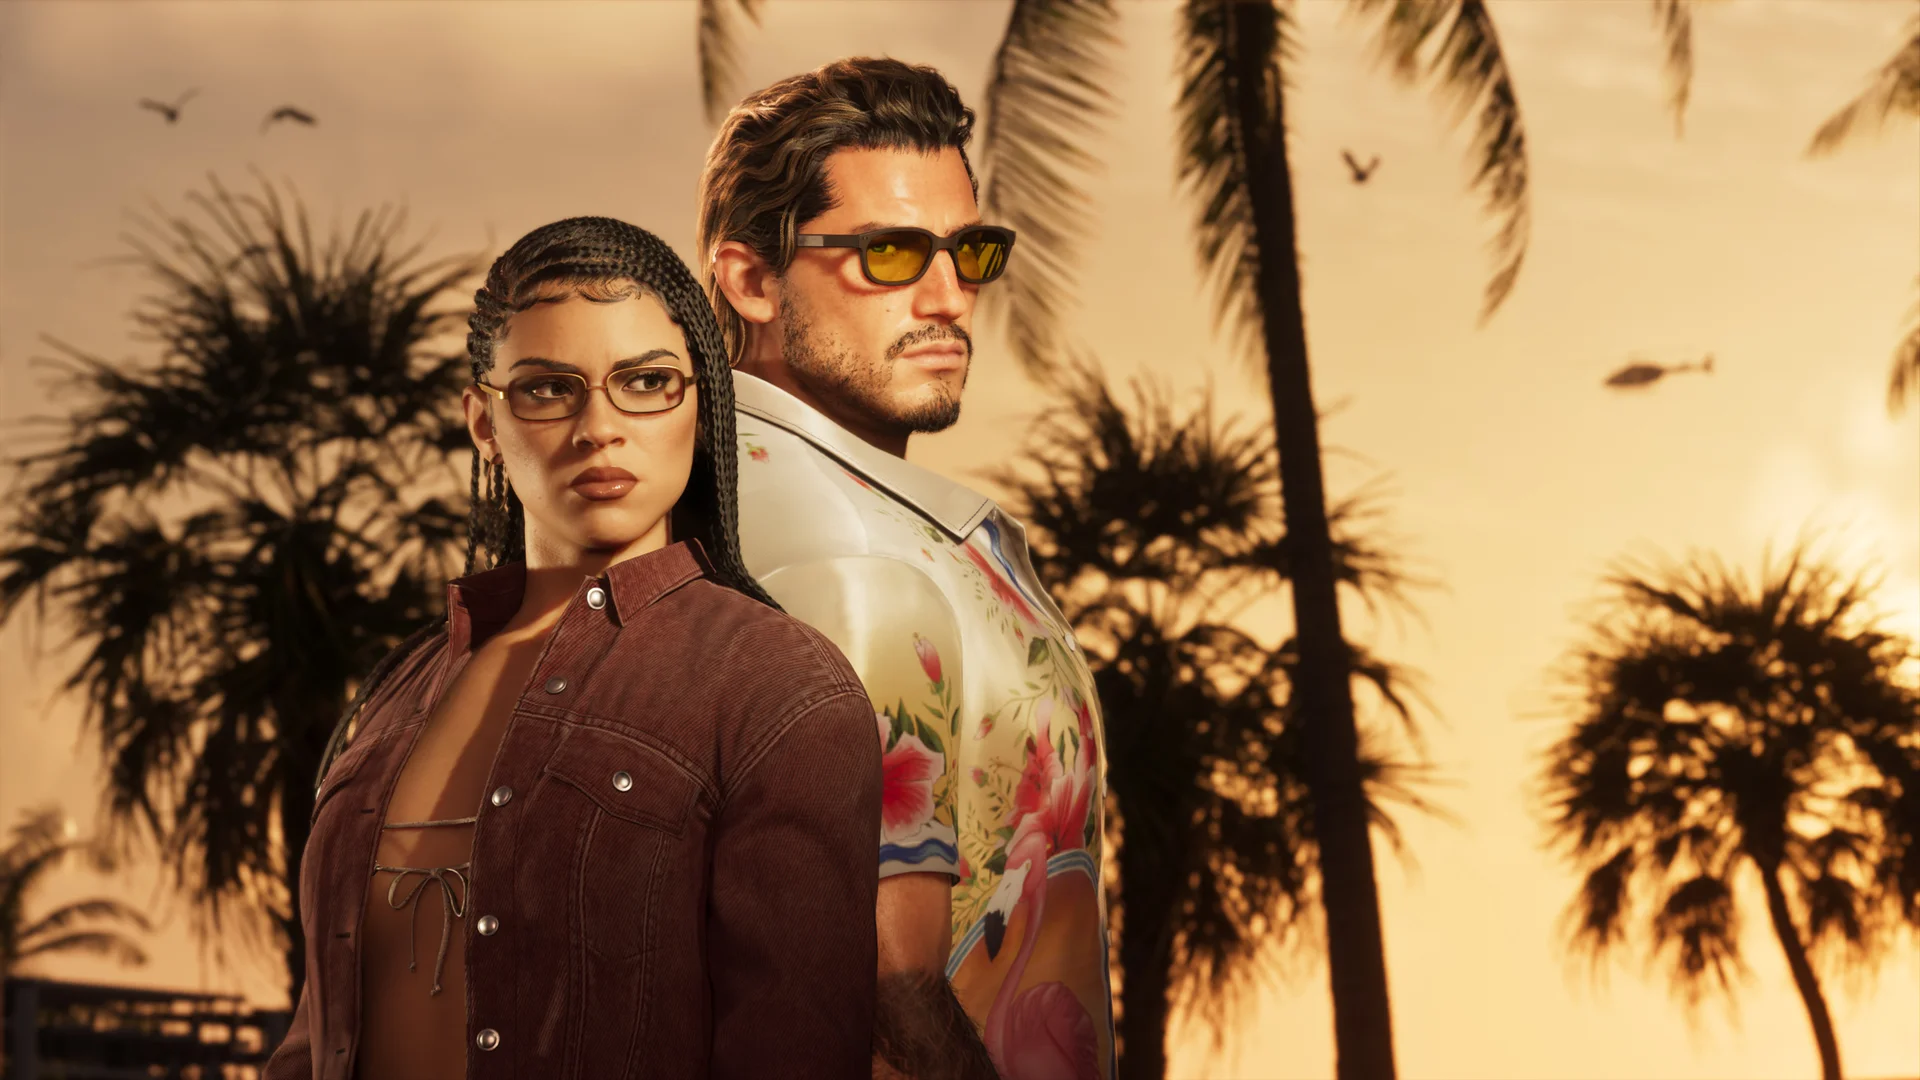
Part 5 — Settings by Playstyle, and What to Leave Alone
A story-first player should keep lock-on targeting, leave aim assist generous, set subtitles to full, and spend their effort on brightness and text size. The game is long — measured reviewer runs put the story anywhere from about 42 hours upward — so comfort settings beat precision settings.
A precision player should do the opposite: free aim or partial lock-on, lower deadzones, a linear-leaning response curve, motion blur off and camera bob low. Change one thing at a time and test each change in free roam, or you will not know which tweak helped.
A comfort-first player should start in the accessibility menu, not the controller menu. Simplified Mini Games, Accessible Combat and Reduced Vehicle Damage change the difficulty of play itself, and camera bob plus motion blur reductions do more for motion sickness than any sensitivity tweak.
On PS5 and PS5 Pro, the DualSense options — vibration strength, adaptive trigger resistance and the controller speaker — are worth a look, and Pro owners get their PSSR and ray-traced shadow upgrades automatically. On Xbox, the same core menus apply; the only real difference is the controller hardware options and the button naming. Series S players should know their version renders at 720p internally, per Digital Foundry, so sharpness settings on the TV matter more than anything in the game menu.
What should you leave alone? The gore and dismemberment defaults, the audio mix until you know your setup, and any setting you do not yet understand. Rockstar’s defaults are a reasonable baseline; the wins are in the handful of changes above.
Frequently Asked Questions
Does GTA 6 have a performance mode?
No. Digital Foundry’s launch analysis found no performance or graphics mode toggle on PS5, PS5 Pro, Xbox Series X or Series S. Every version targets 30 frames per second at launch.
What is the first setting I should change in GTA 6?
Set the Touch Pad button to Map on PS5, then lower Motion Blur Strength and Camera Bob if the camera feels uncomfortable. Those three changes take under a minute and improve every minute that follows.
What are the default Motion Blur and Camera Bob values in GTA 6?
Motion Blur Strength defaults to 3 and Camera Bob defaults to 10, as shown in launch-day settings walkthroughs of the real in-game menus. Many players prefer motion blur at 0–1 and camera bob around 2–4.
Should I use lock-on or free aim in GTA 6?
Lock-on is the friendlier choice for story play and for returning GTA 5 players. Free aim is harder but gives you full control; partial lock-on sits between the two. You can change it at any time in the Gameplay menu.
What does the Aim Response Curve do in GTA 6?
It controls how stick movement translates into aim speed as you push further. A more linear curve feels direct and predictable, while the default curve is gentler at small movements and faster at full push.
How do I stop stick drift problems when lowering deadzones?
Lower the deadzone in small steps and test in free roam. If the camera or character moves without input, raise the deadzone one step at a time until the drift stops; that point is your controller’s practical minimum.
What accessibility options does GTA 6 have at launch?
The documented launch menu includes Simplified Mini Games, Auto Equip Helmet, Accessible Combat and Reduced Vehicle Damage, alongside camera comfort controls such as motion blur and camera bob sliders.
Are GTA 6 settings different on PS5 and Xbox?
The core menus — controller, gameplay, display, UI, camera and audio — are the same. The differences are hardware-level: DualSense vibration, adaptive trigger and controller speaker options on PS5, and different button labels on Xbox.
Does the PS5 Pro need special settings for GTA 6?
No. The Pro’s advantages, PSSR upscaling and ray-traced shadows, are applied automatically, and Digital Foundry found it had the steadiest frame pacing of the four consoles. There is no extra Pro toggle to find.
Can I change the first-launch setup choices later?
Yes. Navigation and text size live in the UI menu, brightness calibration lives in the Display menu, and subtitle mode can be changed at any time. Nothing chosen on the first-launch screens is permanent.
Final Word
GTA 6 rewards ten quiet minutes in its menus before the story sweeps you away. Fix the map shortcut, calm the camera, set your deadzones and subtitles, and take whatever accessibility help suits you — then let Leonida do the rest.